iOS installation and configuration
In this tutorial, we will guide you through the configuration of the AppSpector SDK for the iOS platform. We assume you have an iOS app that you want to integrate AppSpector into. To use AppSpector, you need to integrate the AppSpector SDK into your app.
Step 1: Install the AppSpector SDK
Choose your installation method: CocoaPods, Carthage, SPM, or manually. In this tutorial, we'll use CocoaPods, but if you prefer another tool, you can refer to the installation documentation.
To install the SDK with CocoaPods, add 'pod AppSpectorSDK' to your podfile and then run 'pod update && pod install' in your project's root directory. This will load and add the SDK as a dependency to your project.
Step 2, optional: Exclude AppSpector for Debug Builds
AppSpector is a great tool for debugging and offers significant assistance during development. However, it's not meant to be shipped to your users, so we recommend excluding it from release builds. Strategies for this differ depending on how you installed AppSpector.
For CocoaPods:
Add AppSpector to the debug config only by specifying it in your podfile:
pod 'AppSpectorSDK', :configurations => ['Debug']For Carthage, follow these steps:
- Don't add AppSpectorSDK.framework to the embedded binaries of your app target.
- Add $(PROJECT_DIR)/Carthage/Build/iOS to your target's Framework Search Paths for the debug configuration. This makes it possible to import the AppSpectorSDK framework from your source files.
- Add a Run Script Phase to your target, which will embed AppSpectorSDK.framework in debug builds only:
if [ "$CONFIGURATION" == "Debug" ]; then
  /usr/local/bin/carthage copy-frameworks
fi
Add $(SRCROOT)/Carthage/Build/iOS/AppSpectorSDK.framework as the input file of this script phase.
For SPM, there is unfortunately no way to exclude a package for a certain configuration. You can check this proposal. Hopefully, it will be implemented sometime soon.
Step 3: Setting up AppSpector Account and Registering Your App
Go to http://appspector.com and create an account if you don't have one.
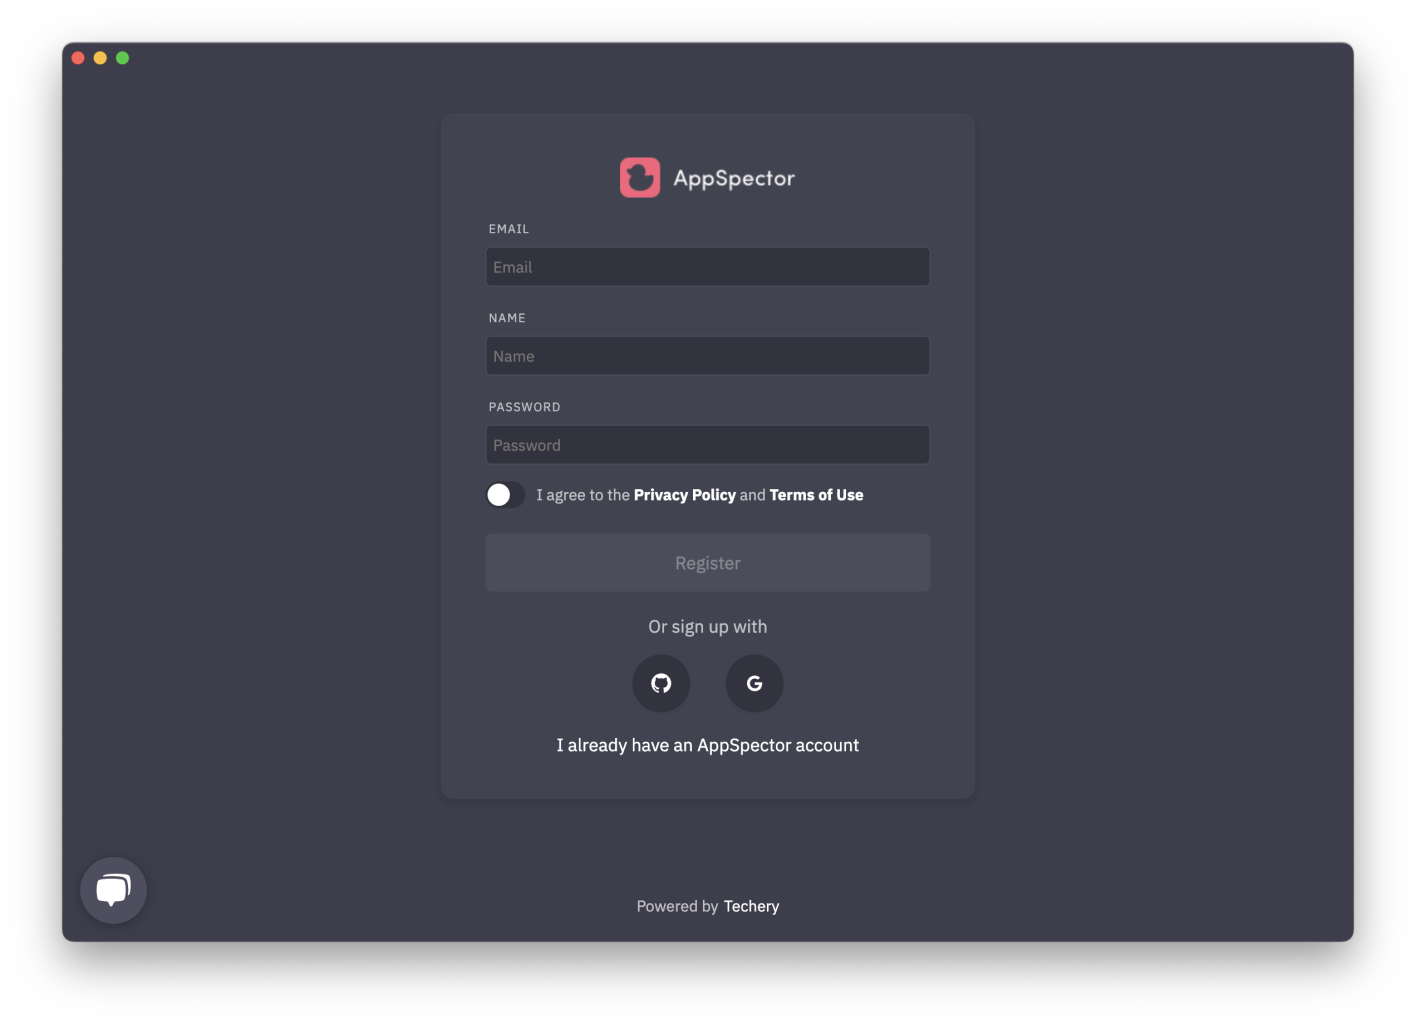
Once you have an account, you can choose to use the AppSpector dashboard from your browser or get a macOS app (encrypted session only available in-app).
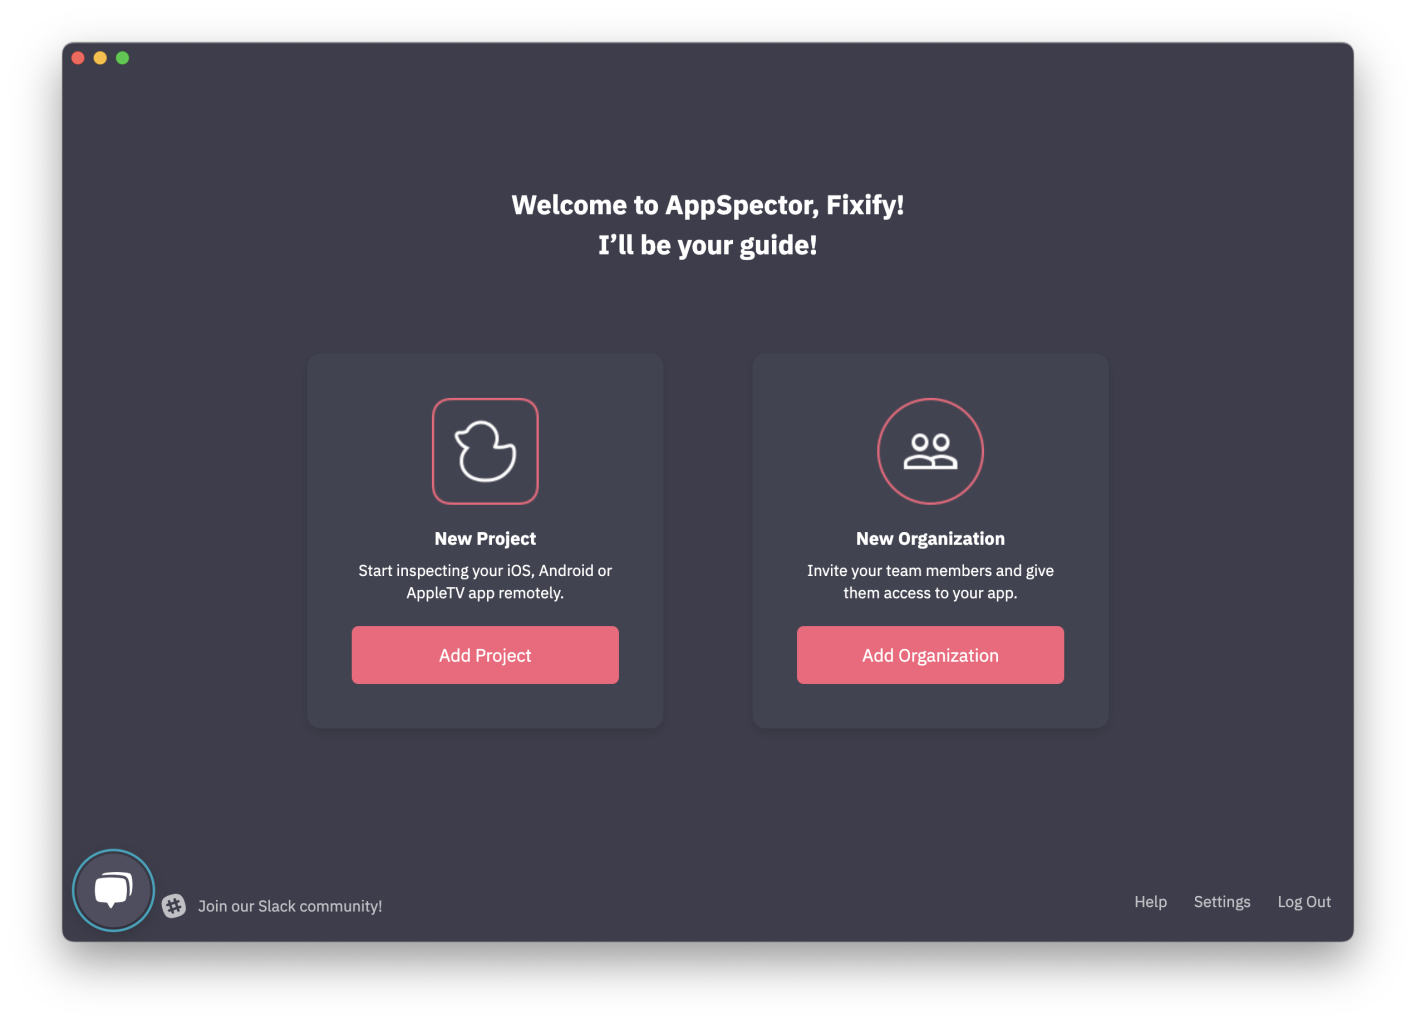
Log in and select "Add Project" to register your app.
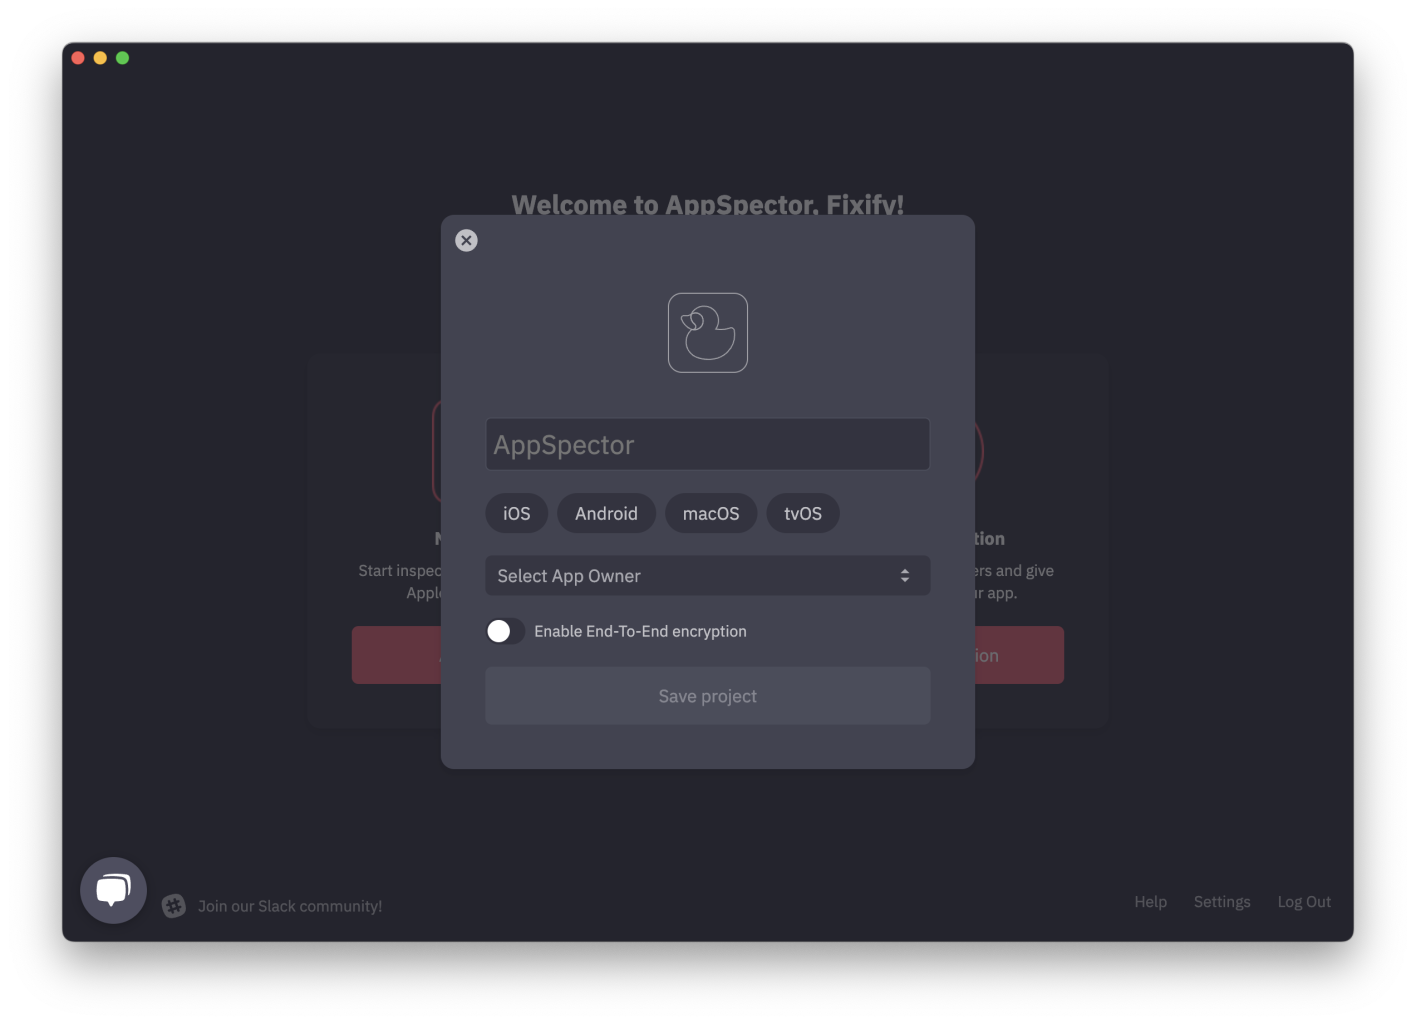
Fill in the form with the name, platform, owner, and encryption settings for your app.
Save and navigate to the app dashboard.
If you are looking for encrypted session guidance, please refer to [link to the e2e install tutorial]
Step 4: Configure the AppSpector SDK
The next step is to configure the AppSpector SDK.
Open your project and navigate to any point in the code close to the app launch. We recommend using your AppDelegate's didFinishLaunching method, but in general, it can be any point in your app lifecycle.
Starting AppSpector as soon as possible after the app starts is crucial because the SDK begins to collect data once started, and starting it early allows it to capture all the data generated during the app run.
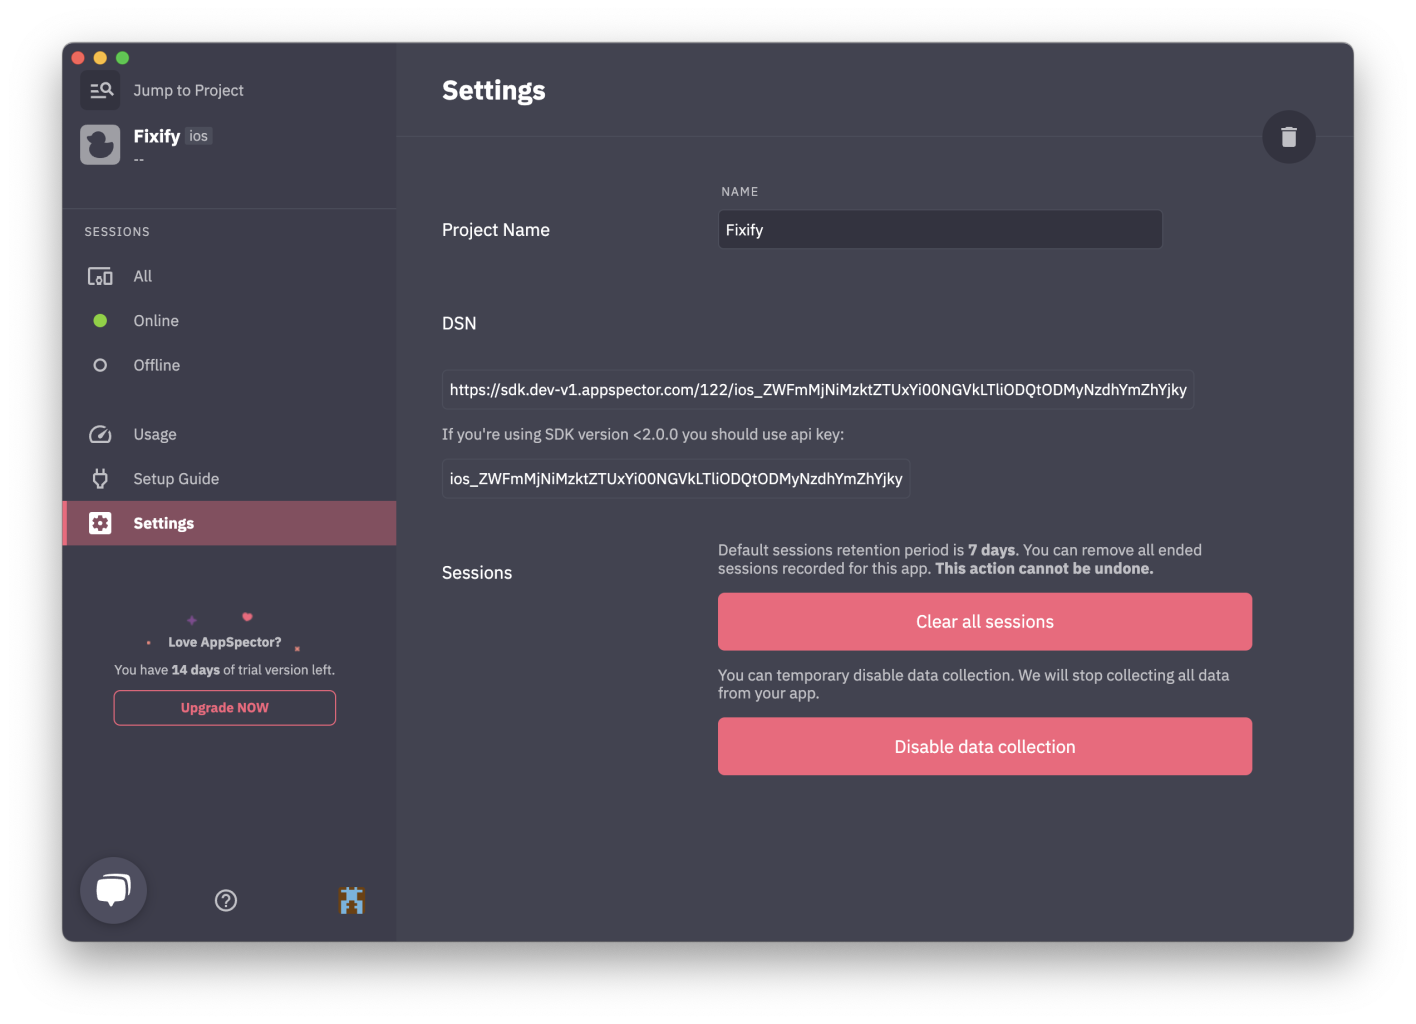
To start AppSpector, you need to build an instance of AppSpectorConfig and provide your API key. To get the key, navigate to your account, select your app, open settings in the side menu, and copy the key from the corresponding field.
Import the AppSpectorSDK framework:
import AppSpectorSDK#import <AppSpectorSDK/AppSpector.h>Create an instance of the AppSpectorConfig using your API key:
let config = AppSpectorConfig(apiKey: "API_KEY")AppSpectorConfig *config = [AppSpectorConfig configWithAPIKey:@"API_KEY"];Run the SDK:
AppSpector.run(with: config)[AppSpector runWithConfig:config];Step 5: Running Live
Run your app and navigate back to your AppSpector account.
Select your app, and in the list of sessions, you should see a live session marked with a green dot
Explore the live session and familiarize yourself with the AppSpector features.
When you stop your app, the session will become "offline" and retain all data collected. Interactive features will be disabled since your app is no longer running.
The session and its data will be preserved for a certain amount of time, depending on your pricing plan. For a free account, this period is 7 days.
We hope this tutorial was helpful. Stay tuned!
Useful Links
- AppSpector docs: https://docs.appspector.com/docs
- Using encryption with AppSpector: https://docs.appspector.com/docs/using-ios-sdk-with-end-to-end-encryption
- Using organization accounts: [link to the tutorial on organizations]
Updated over 1 year ago