Using iOS SDK with End-to-End encryption
In this tutorial, we'll guide you through the process of configuring and running an encrypted session using AppSpector's end-to-end encryption feature.
Prerequisites:
macOS desktop app to navigate the dashboard
Step 1: Create the App
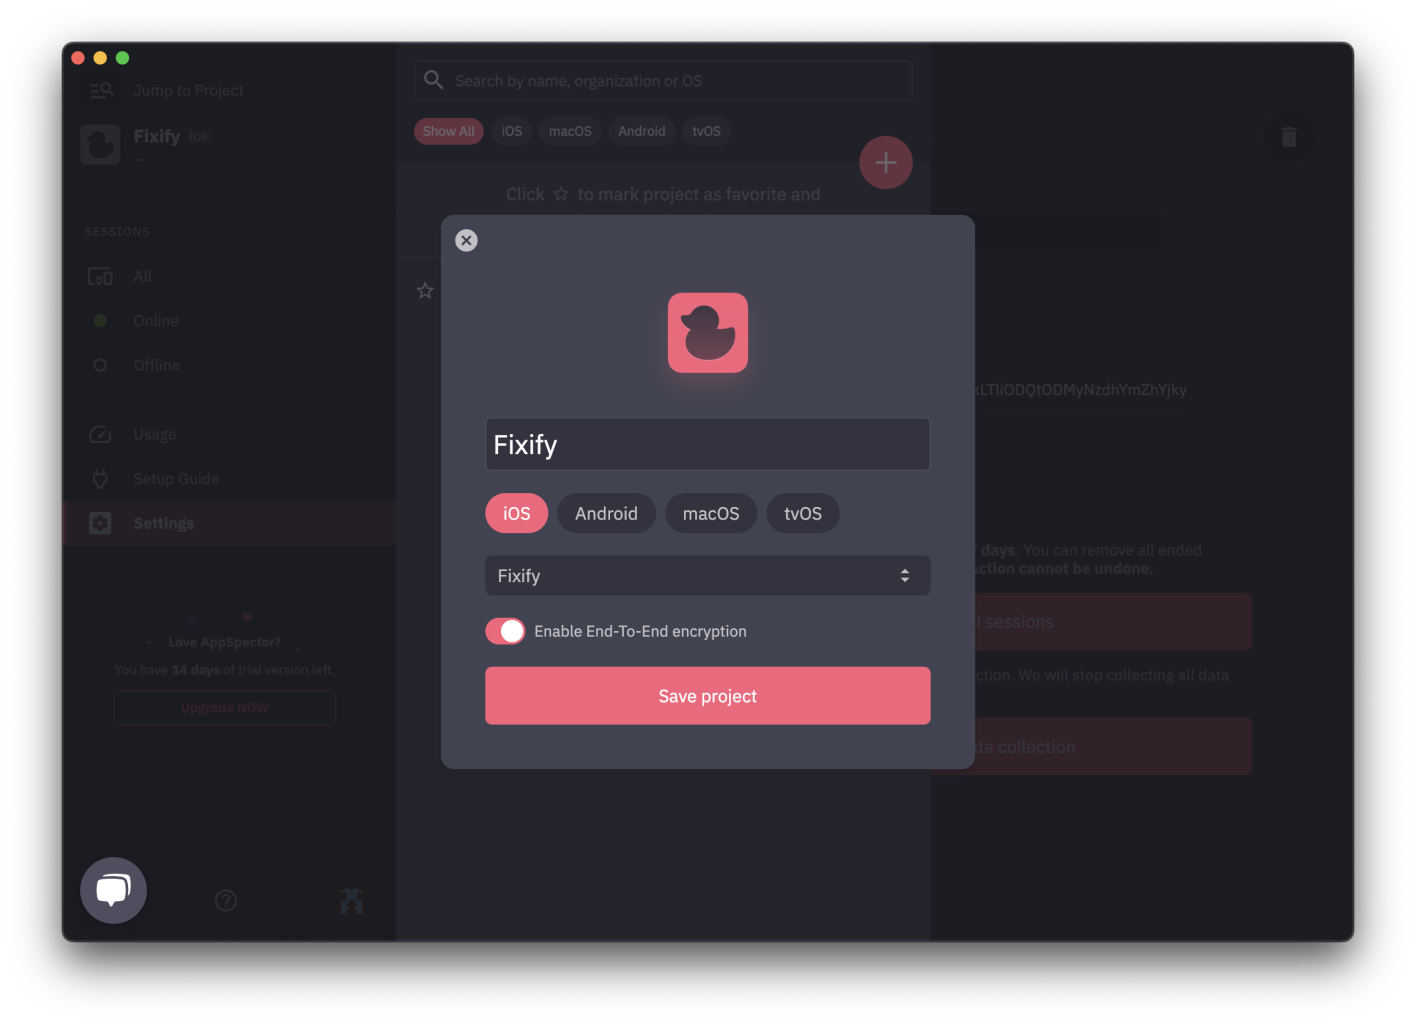
Add a new app by pressing "Add Project" after logging in or pressing the big plus icon in the apps list if you already have apps.
Fill in the required fields:
Name: The name of your app as you'll see it on the dashboard.
Platform: Supported platforms are iOS, tvOS, and Android.
Owner: Select your current account or the organization.
Enable e2e encryption: Check this flag to enable encryption for the app.
Step 2: Set a Passphrase
Press the "Save Project" button and enter a passphrase in the dialog.
Keep this passphrase secret and never share it with anyone.
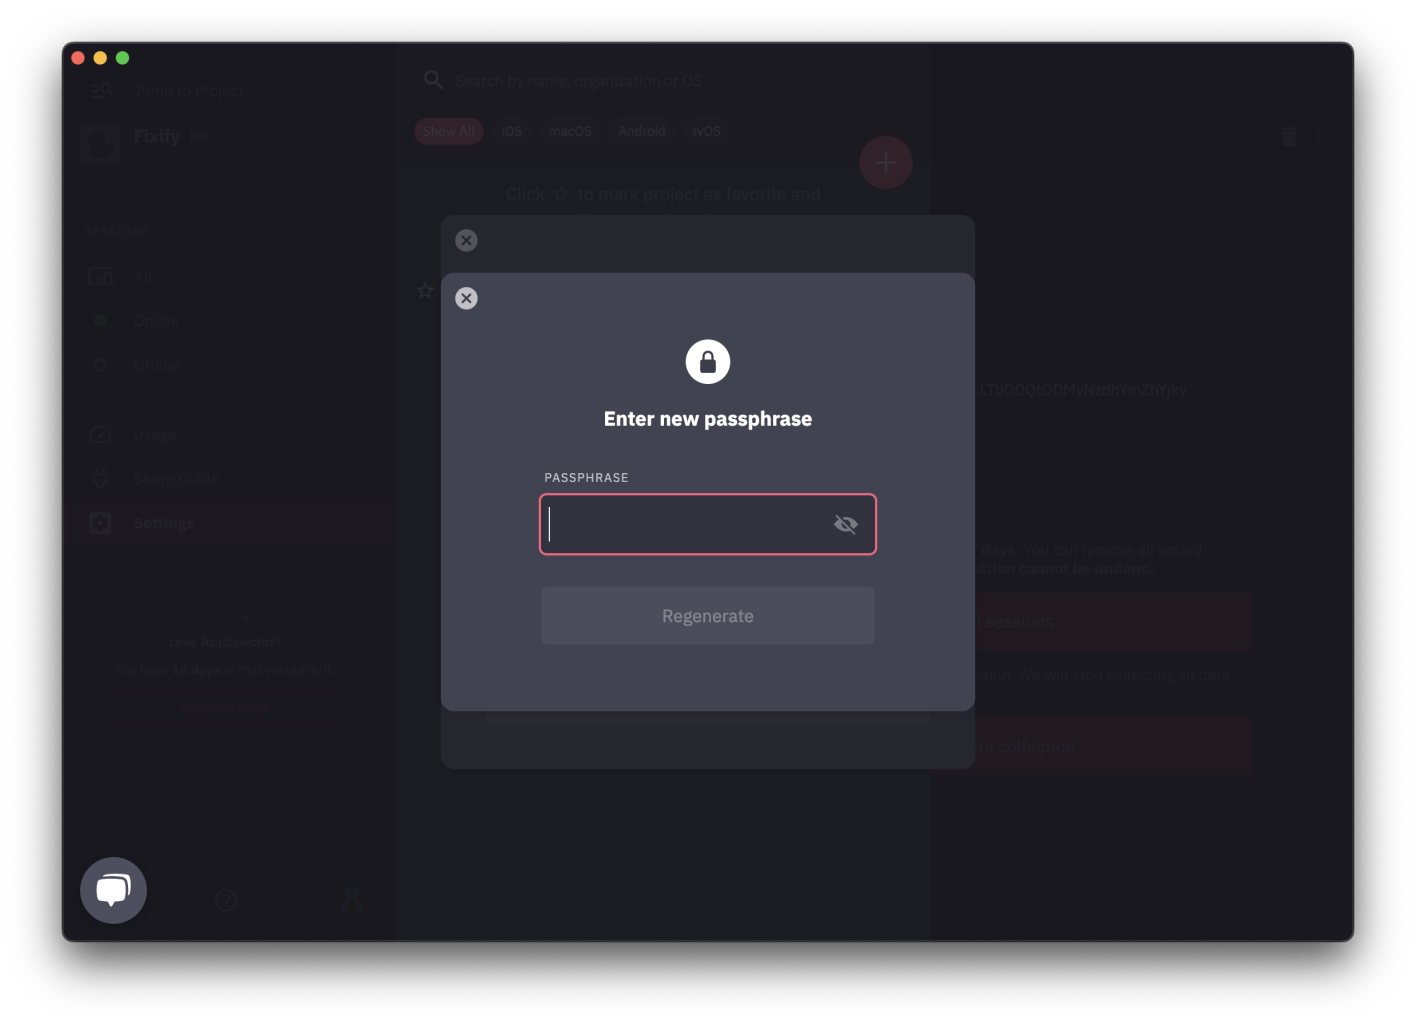
Please note that losing your passcode means losing all the data, as there is no recovery option for a passcode.
Step 3: Install the SDK
Available installation options are pretty much the same as for the non-encrypted SDK, except SPM is not available for the encryption-enabled SDK for now.
Add pod AppSpectorSDKE2E to your podfile.
Run pod update && pod install in your project's root directory.
Alternatively, you can install the SDK manually, but also install the Themis library.
Step 4: Configure SDK
Open your project and navigate to your AppDelegate's didFinishLaunching method or any other point in your app lifecycle.
To start AppSpector, you need to build an instance of AppSpectorConfig and provide your API key. To get the key, navigate to your account, select your app, open settings in the side menu, and copy the key from the corresponding field.

Import the framework: import AppSpectorSDKE2E
Start an encrypted session by providing your app public key alongside your API key:
let config = AppSpectorConfig(apiKey: "API_KEY", publicKey: "PUB_KEY")
AppSpector.run(with: config)
AppSpectorConfig *config = [AppSpectorConfig configWithAPIKey:API_KEY publicKey:PUB_KEY];
[AppSpector runWithConfig:config];Step 5: Run and Unlock the Encrypted Session
Run your app and navigate to the app sessions list in the AppSpector desktop app.
Click on a session you have just run, and the app will ask you for a passphrase.
Enter the passphrase you used earlier while creating the app to unlock the session
That's it! You've now successfully configured and run an encrypted session with AppSpector. Remember that loading encrypted sessions may take a bit longer due to the key exchange process.
Useful links:
Themis docs: https://docs.cossacklabs.com/themis/installation/
AppSpector encryption: https://www.cossacklabs.com/case-studies/appspector/
Updated over 1 year ago