Sessions
In this tutorial, you'll learn what a session is, how to start and stop sessions, understand session states, session continuation, session API use, and the concept of encrypted sessions.
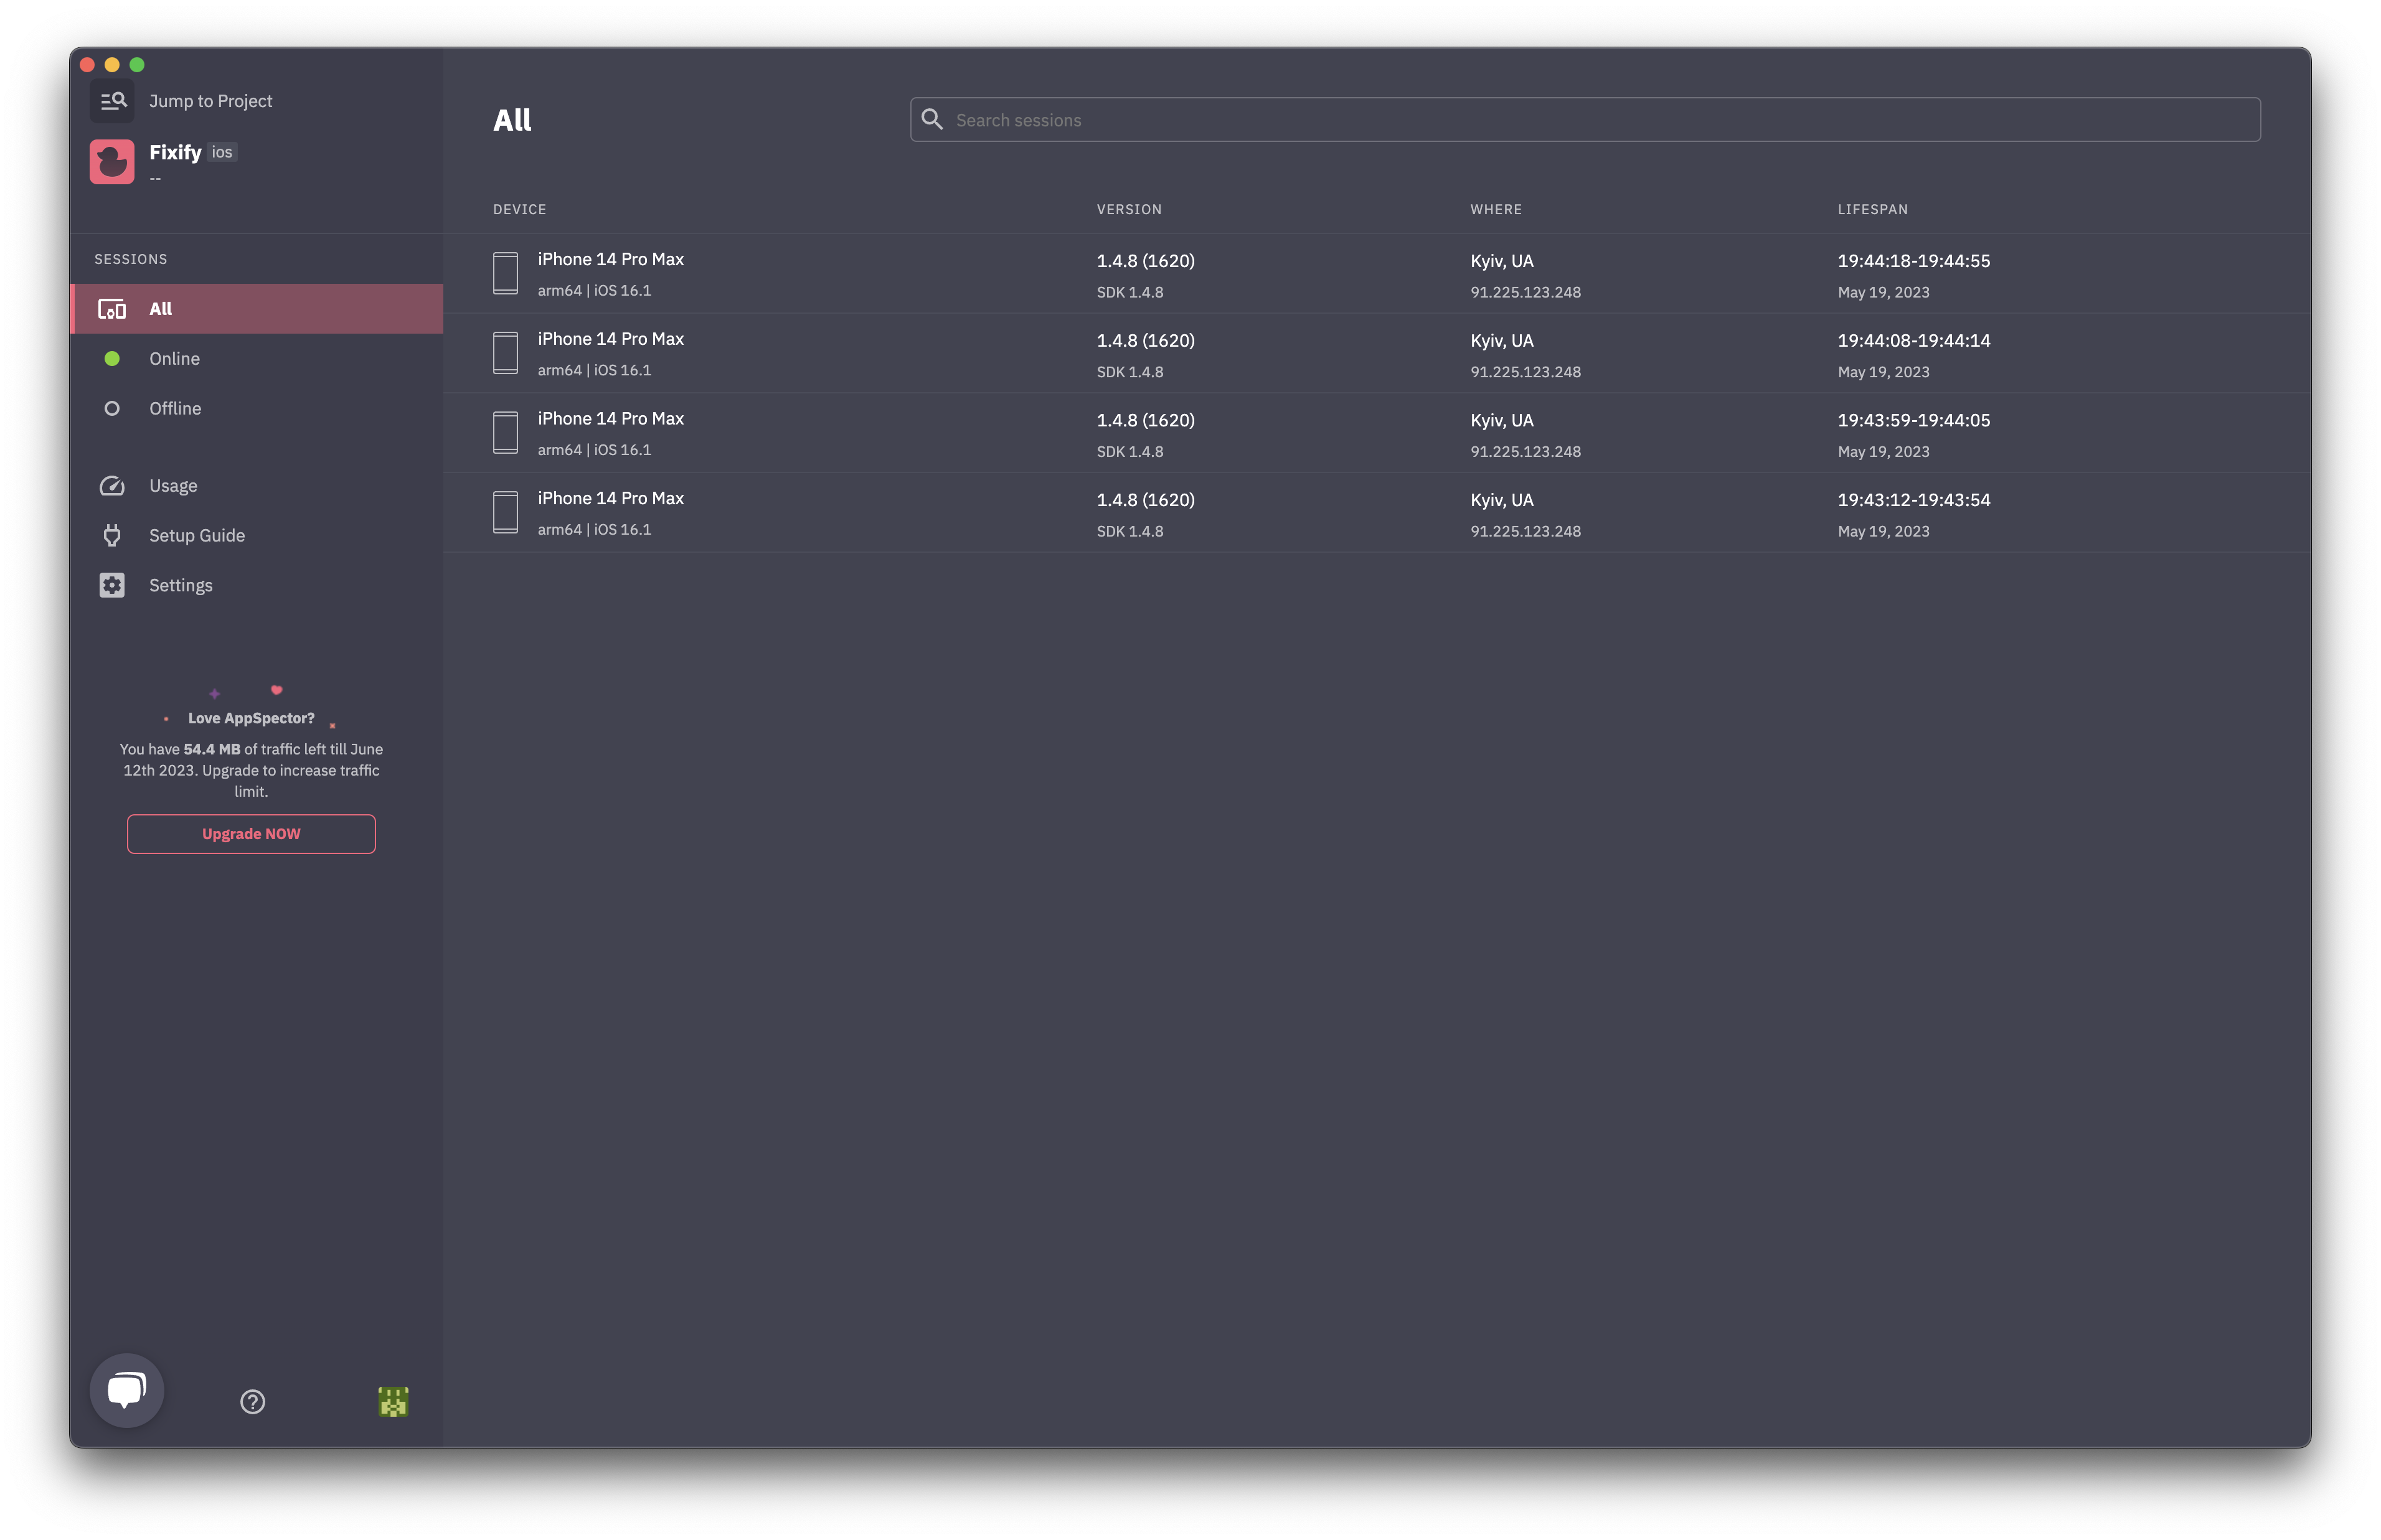
Step 1: Understanding Sessions
Consider a session as a collection of data gathered from your device during a certain period. A session begins when your app executes the start() method from the SDK and runs until the app is in operation or until you manually stop it. The maximum duration of a session is one hour for performance reasons. Once this limit is reached, AppSpector automatically ends the current session and starts a new one. No data is lost during this transition.
Step 2: Starting and Stopping a Session
The AppSpector SDK can automatically stop sessions, but if you want to manually stop a session at a particular point in your App lifecycle, you can use a special API. To stop a session, simply call the stop() method and the current session will cease immediately.
AppSpector.start()[AppSpector stop];Restarting a session is as easy as calling the start() method again, and AppSpector will initiate a new session.
AppSpector.stop()[AppSpector start];Note, unbalanced calls to start()/stop() APIs will not affect the SDK. For instance, if you try to stop a session that is already stopped or start a session that is already running, the SDK will ignore the call.
Step 3: Understanding Session States
Each session can be live or offline, depending on the connection availability of the target device. The SDK will switch a session from live to offline (and vice versa) when it detects changes in the connection state. When the connection is restored, all the locally stored data is sent to the backend, attaching it to the same session.
Step 4: Session Continuation
Sessions can be interrupted due to connectivity issues, high loads, or other circumstances. In such instances, AppSpector restarts and treats it as the same session. In your dashboard, this will appear as a single session that went offline for some time before returning to the live state.
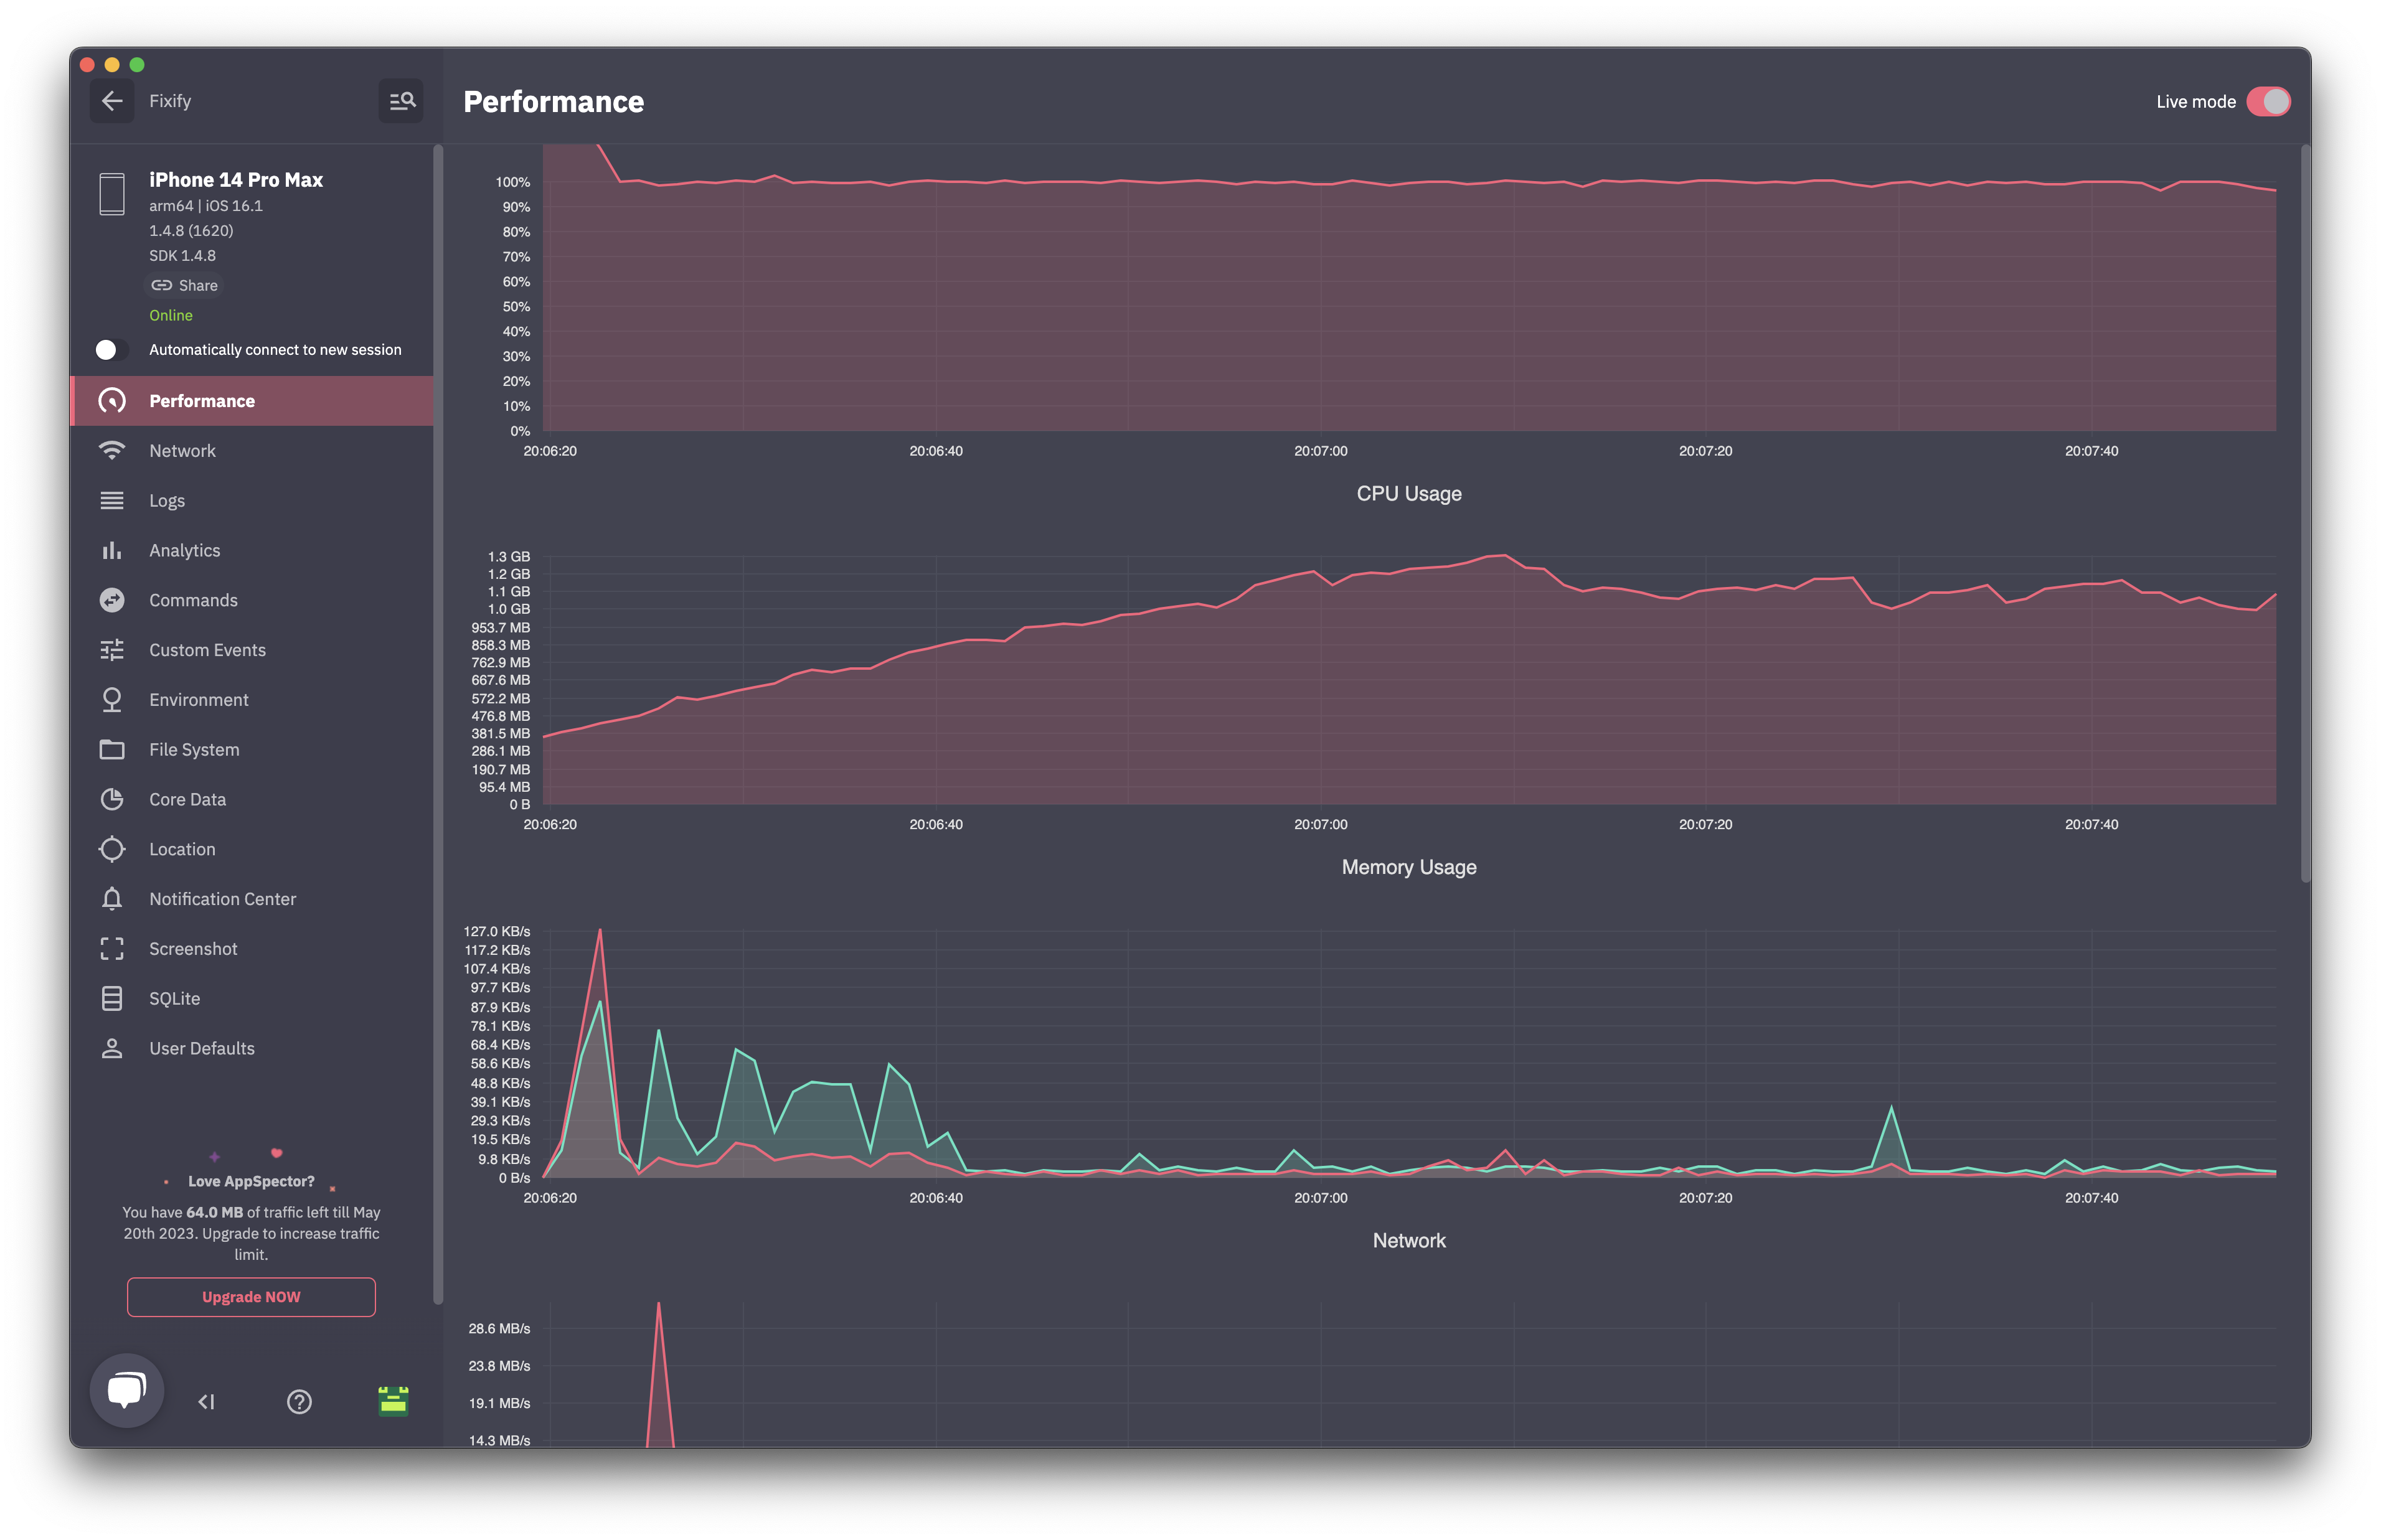
When your session goes offline and a new one starts on the same device you can switch to it automatically. To enable this behaviour check "Automatically connect to new session" on the top left of the session dashboard:
Step 5: Using Session API
The AppSpector SDK provides a couple of APIs to interact with the current session. The first one is startCallback, which is called once the session is established. URL passed as an argument points to the current session dashboard. You can add this link to your issue tracker, add to logs etc.
let config = AppSpectorConfig(apiKey: "API_KEY")
config.startCallback = { url in
  print("Got session URL: \(url)")
}
AppSpectorConfig *config = [AppSpectorConfig configWithAPIKey:@"API_KEY"];
[config setStartCallback:^(NSURL *sessionURL) {
NSLog(@"Got session URL: %@", sessionURL);
}];The second API is the metadata API, which associates a list of key-value pairs with the session. For now, the SDK only supports one key, DeviceNameKey, that allows you to pass a custom device name that will be displayed as a session name.
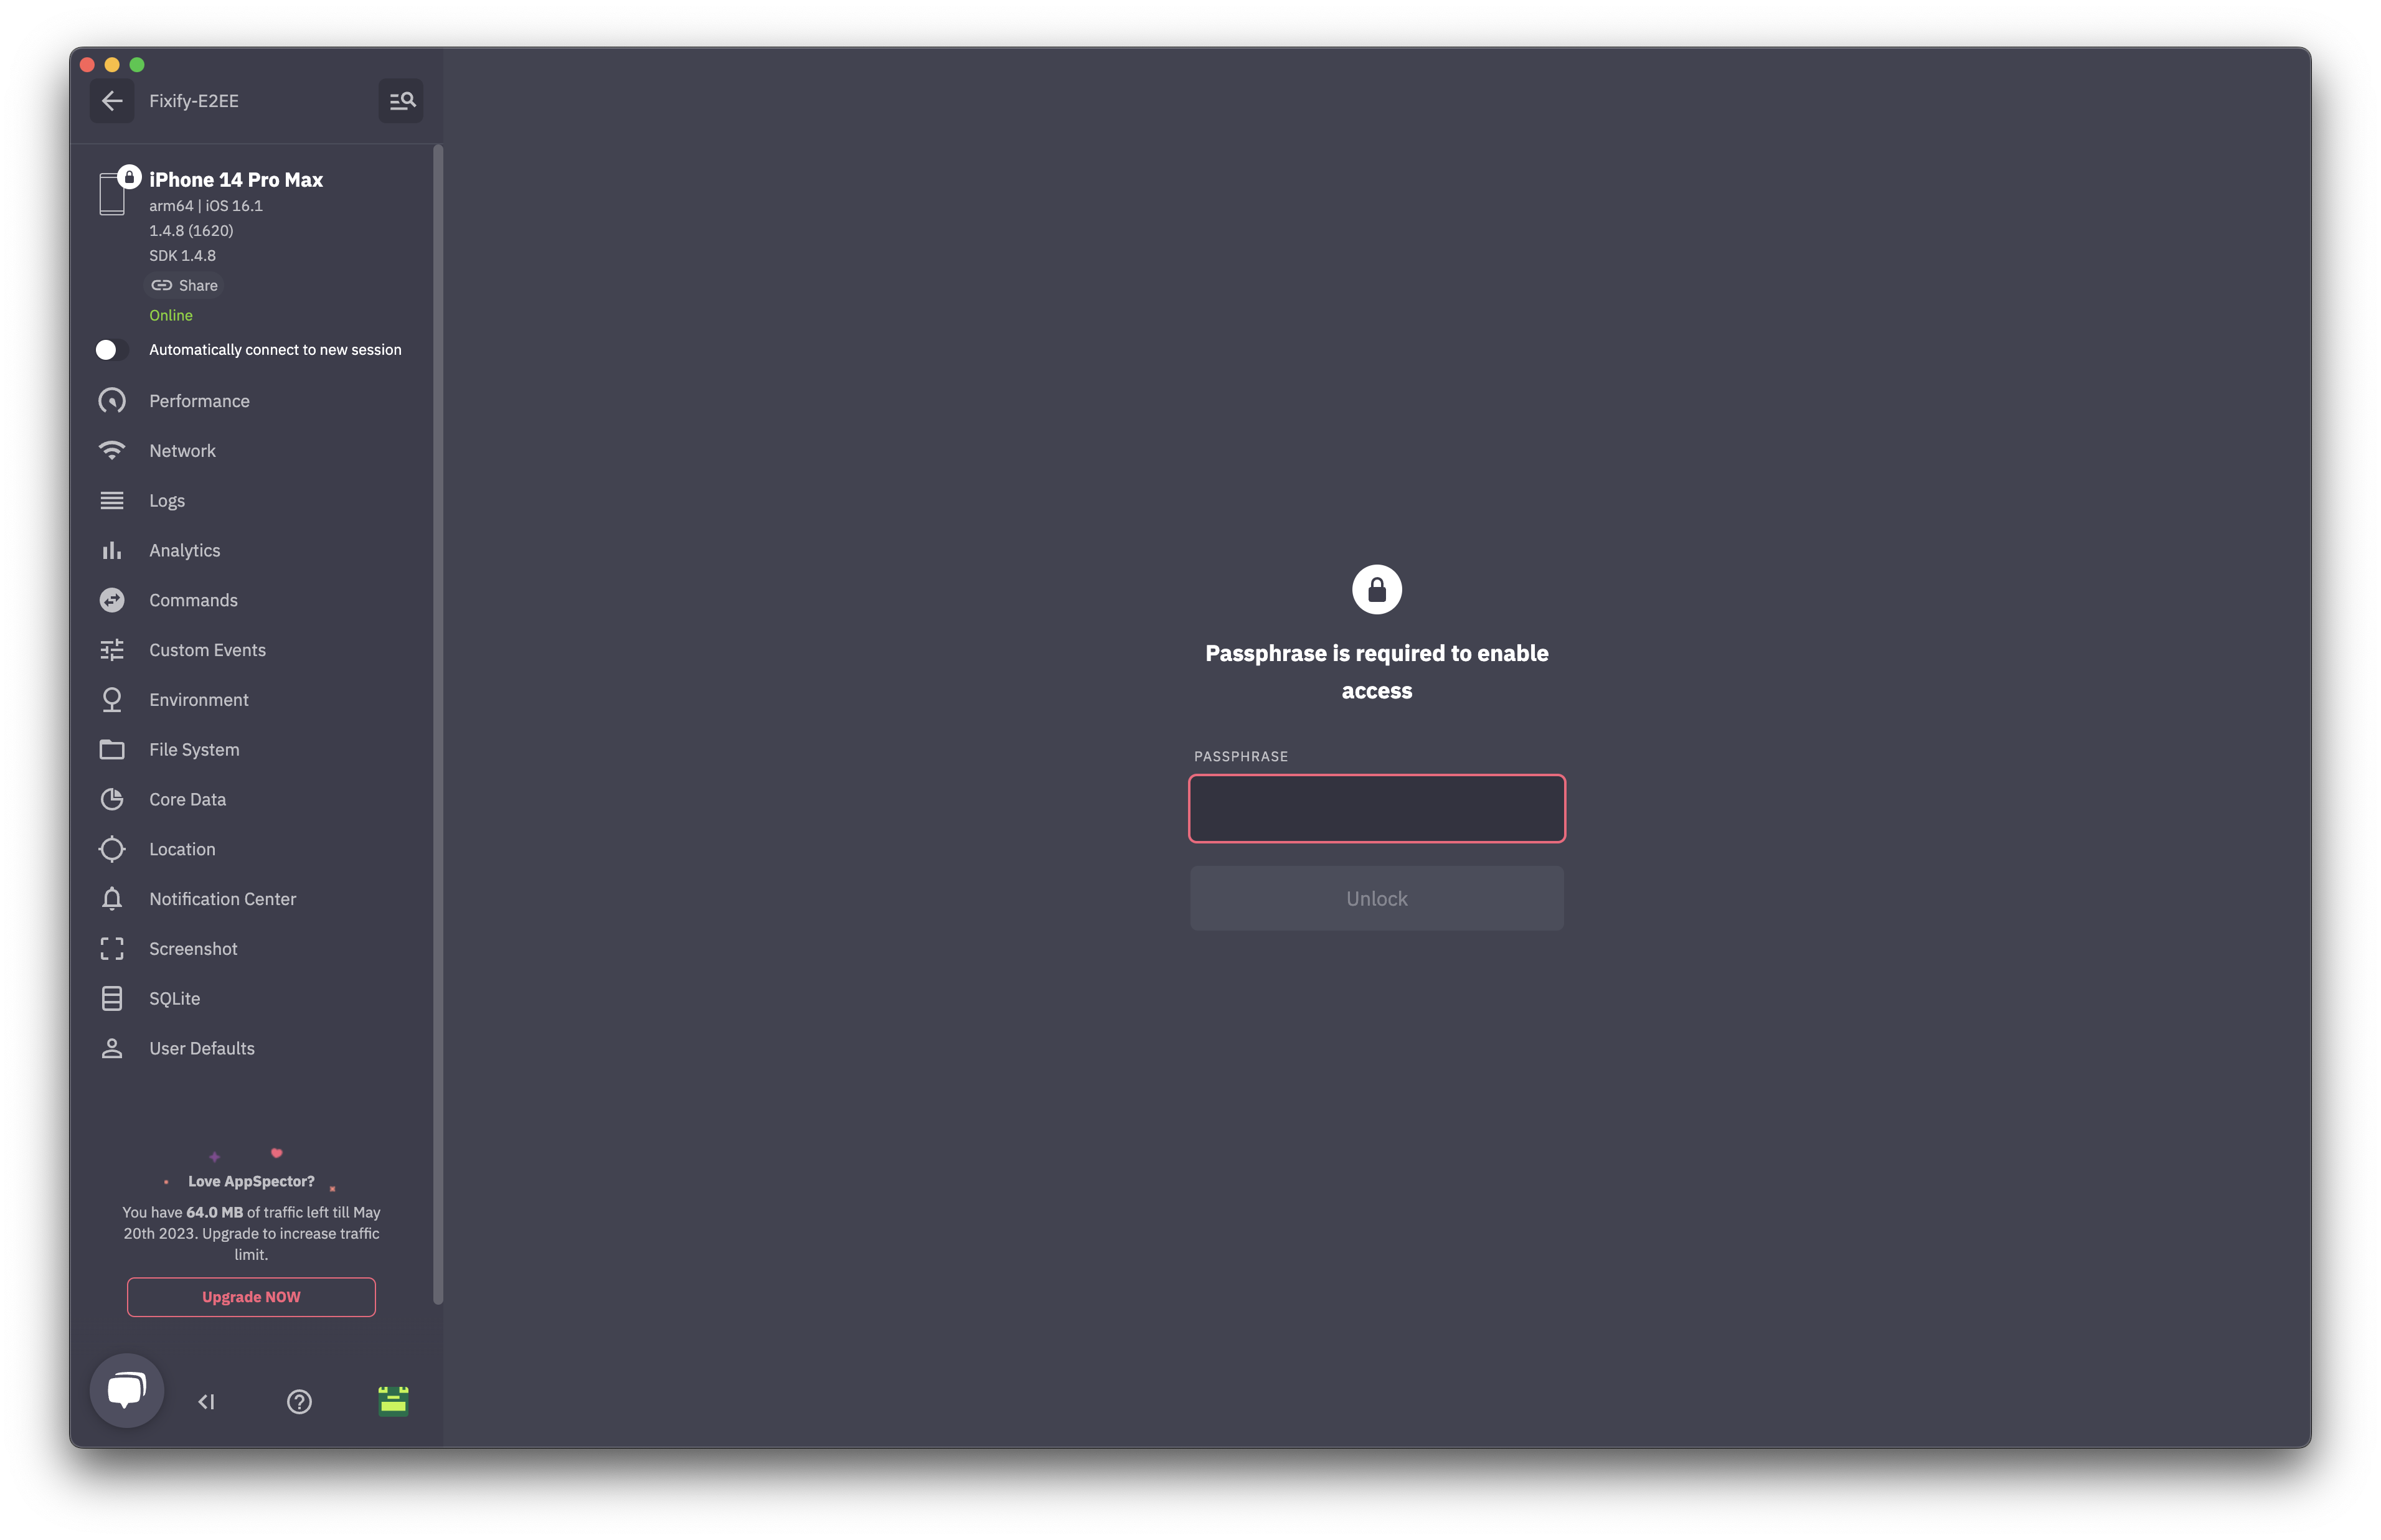
AppSpector.updateMetadataValue("My Device", forKey: DeviceNameKey)[AppSpector updateMetadataValue:@"My Device" forKey:AS_DEVICE_NAME_KEY];Step 6: Encrypted Sessions
When using end-to-end encryption with AppSpector, all your session data will be encrypted. This data can only be viewed from the desktop app and after entering a passcode.
We hope this step-by-step guide will aid in enhancing your experience and ease-of-use with AppSpector. Please refer to this tutorial whenever you encounter uncertainties with the session function, and enjoy your AppSpector journey!
Updated over 1 year ago